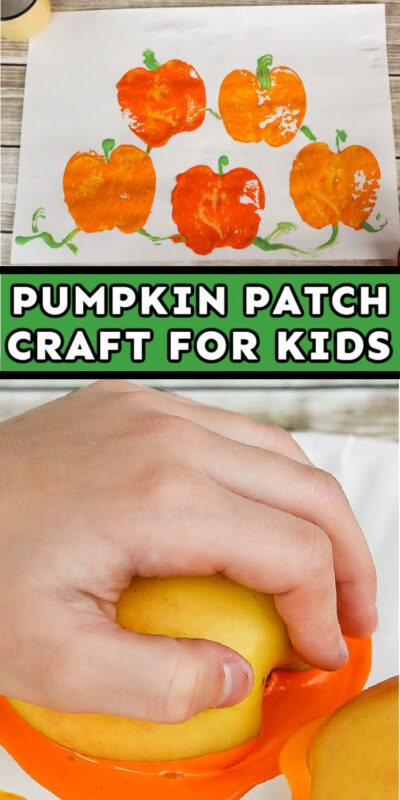
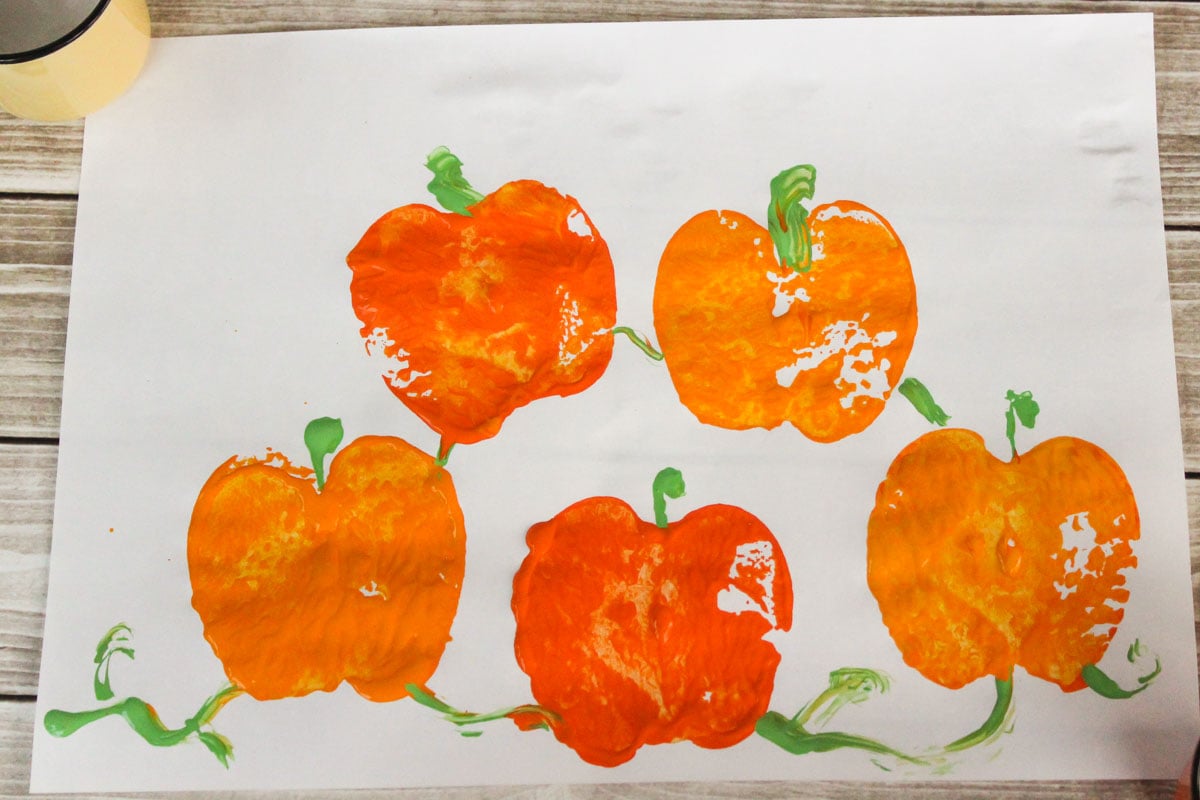
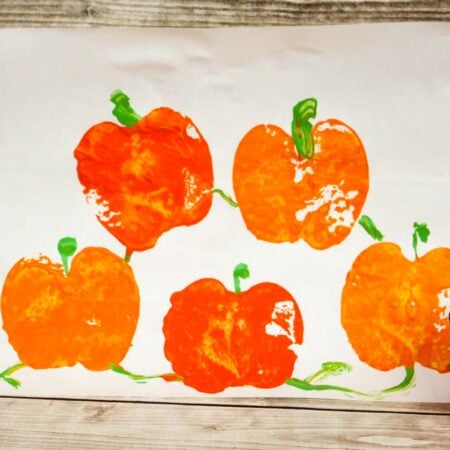
As my youngest gets a little older, we’ve started getting into the world of painting and crafts with him. Everything still needs to be super simple and controlled or we end up with paint all over the house, but he’s getting there. This simple pumpkin patch craft using apples is great because it’s easy and foolproof for the kiddos. Dip the apples in paint, press the apples on the piece of paper. The only complicated part is adding the vines to the pumpkins and even that isn’t complicated because it really doesn’t matter if it’s perfect or not! Plus, it’s a great activity to put on your fall bucket list!
Why you’ll love this craft
Inexpensive – all you really need is paint, apples, and paper plates. Grab a cheap bag from the grocery store and start painting! Simple – unlike a lot of painting that includes actually painting, this painting project is more of a stamping project with paint – and kids love stamping!Allows creativity – if you give kids different colors and sizes of apples, it allows them to show their creativity with choosing different colors for their pumpkins and vines! And allowing them to be creative is never a bad thing!
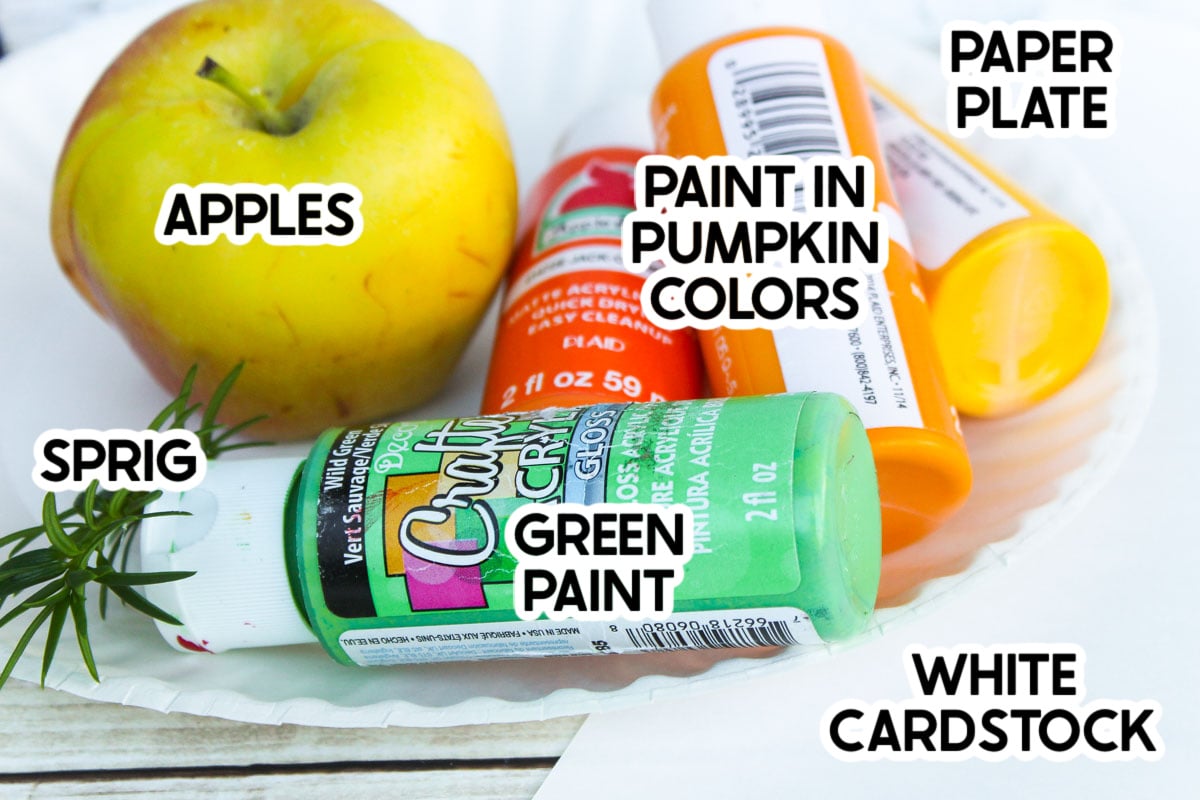
Supplies
Supply Notes
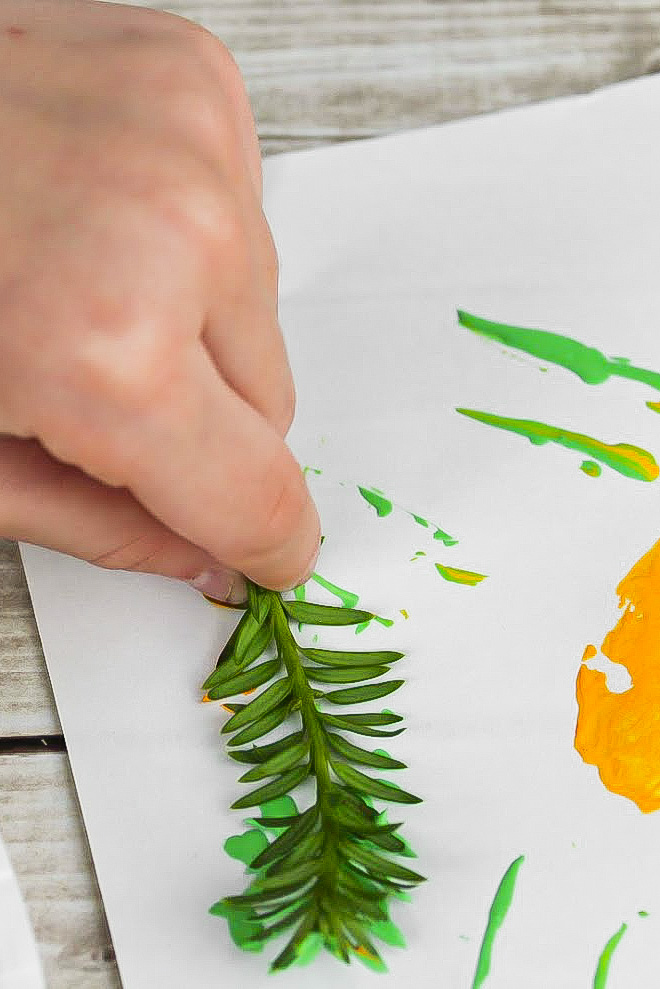
Green paint – for all of the paint, I recommend choosing your paint based off the ages of people doing this. If you’re doing this with preschoolers or young kids, go with something washable like this Crayola washable paint. If you’re doing this with someone a little older and more responsible, craft paint is great! Pumpkin paint – for the other paints, I recommend the same type of paint. For the colors, I recommend using a variety of pumpkin colors – just like you’d actually see in a pumpkin patch. Bright orange, dark orange, yellow. You can’t go wrong with any warm colors! Apple – the type of apple really doesn’t matter here so I’d just go with the cheapest you can find. The size also doesn’t matter. You could even have a couple of different apple sizes so they could do different sizes of pumpkins in their pumpkin patch! You will need the apple stems so make sure to take those off and keep them handy for the project! Sprig – you can really use a spring of anything – something off a bush, a shrub, anything. And honestly, this is optional, I’ve just found the sprig gives the pumpkin vines a little more real of a look than just painting them with the stems! Plus, kids always like having more things to dip in in paint!Paper plate – paper plates are your best bet for paint palettes because they’re big enough to actually press the apples down on rather than trying to use actual paint palettes. Alternately, you could have them paint the apples with paint brushes but then you’d also need brushes and that’s just more effort!White card stock – I recommend using card stock for these so that they are a little sturdier than just printer paper. That way they can hang them on the fridge or wherever without it rolling as much on the bottom!
How to make apple pumpkin patches
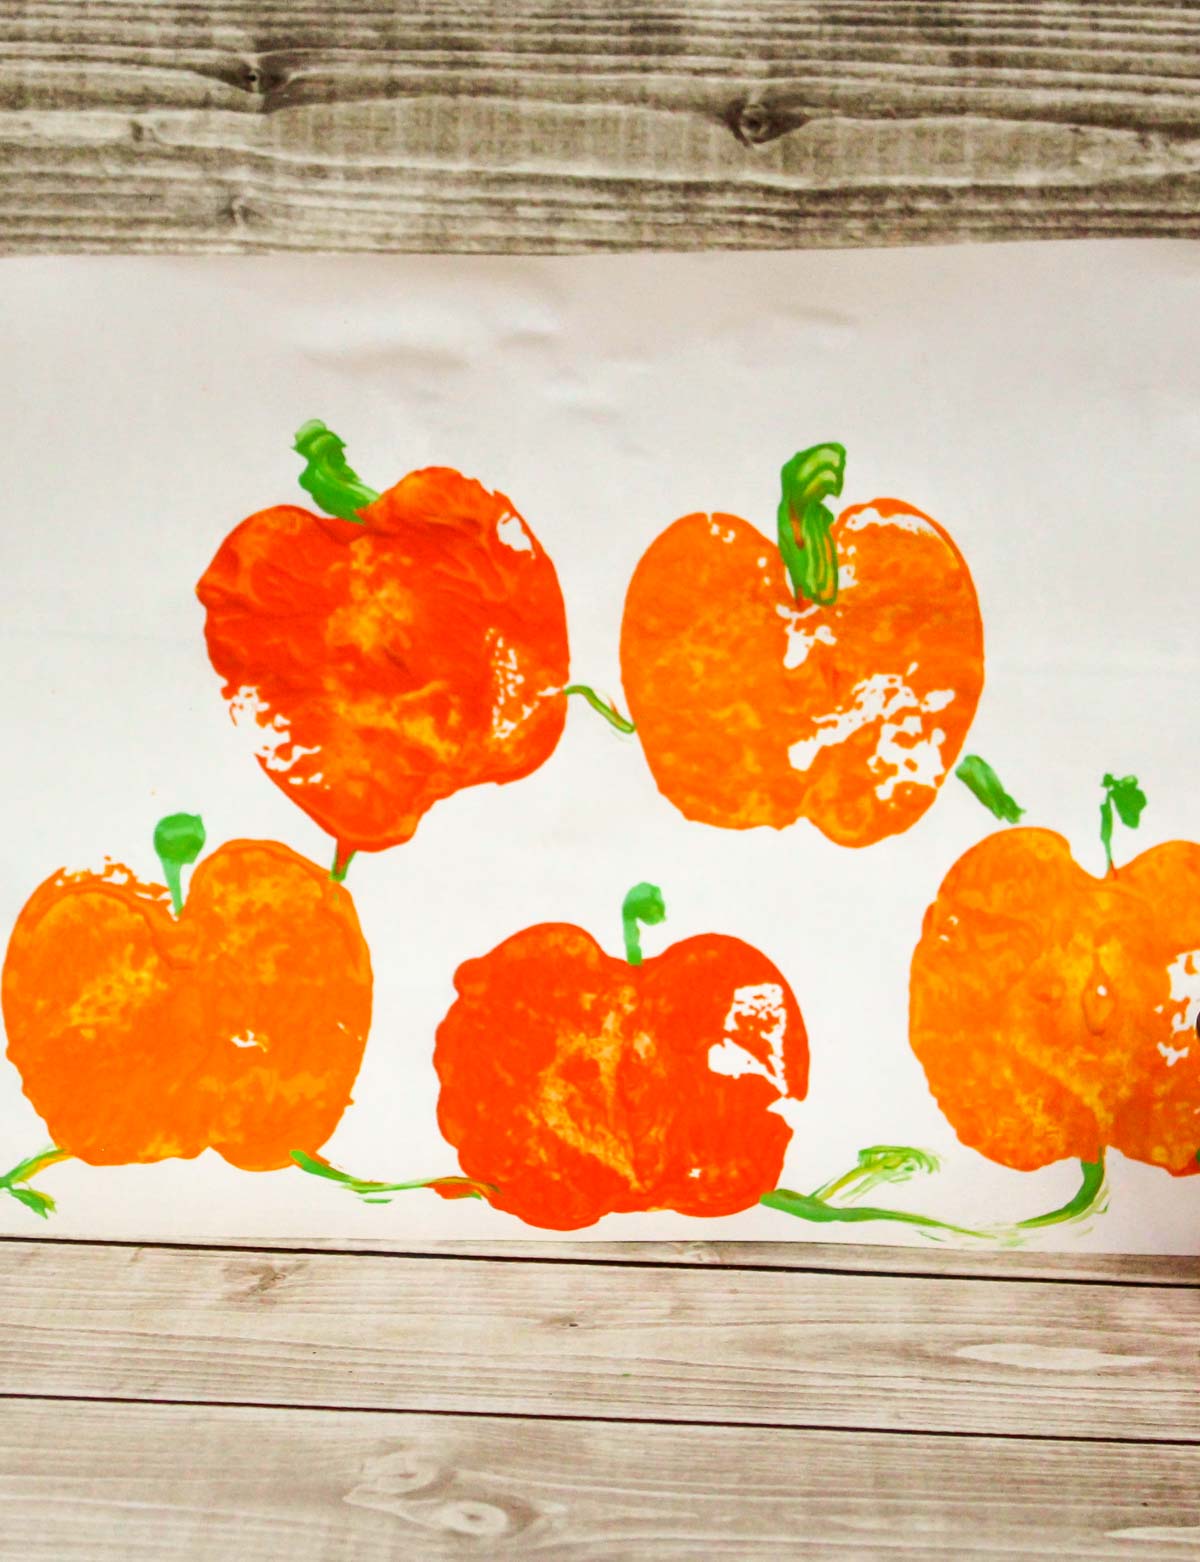
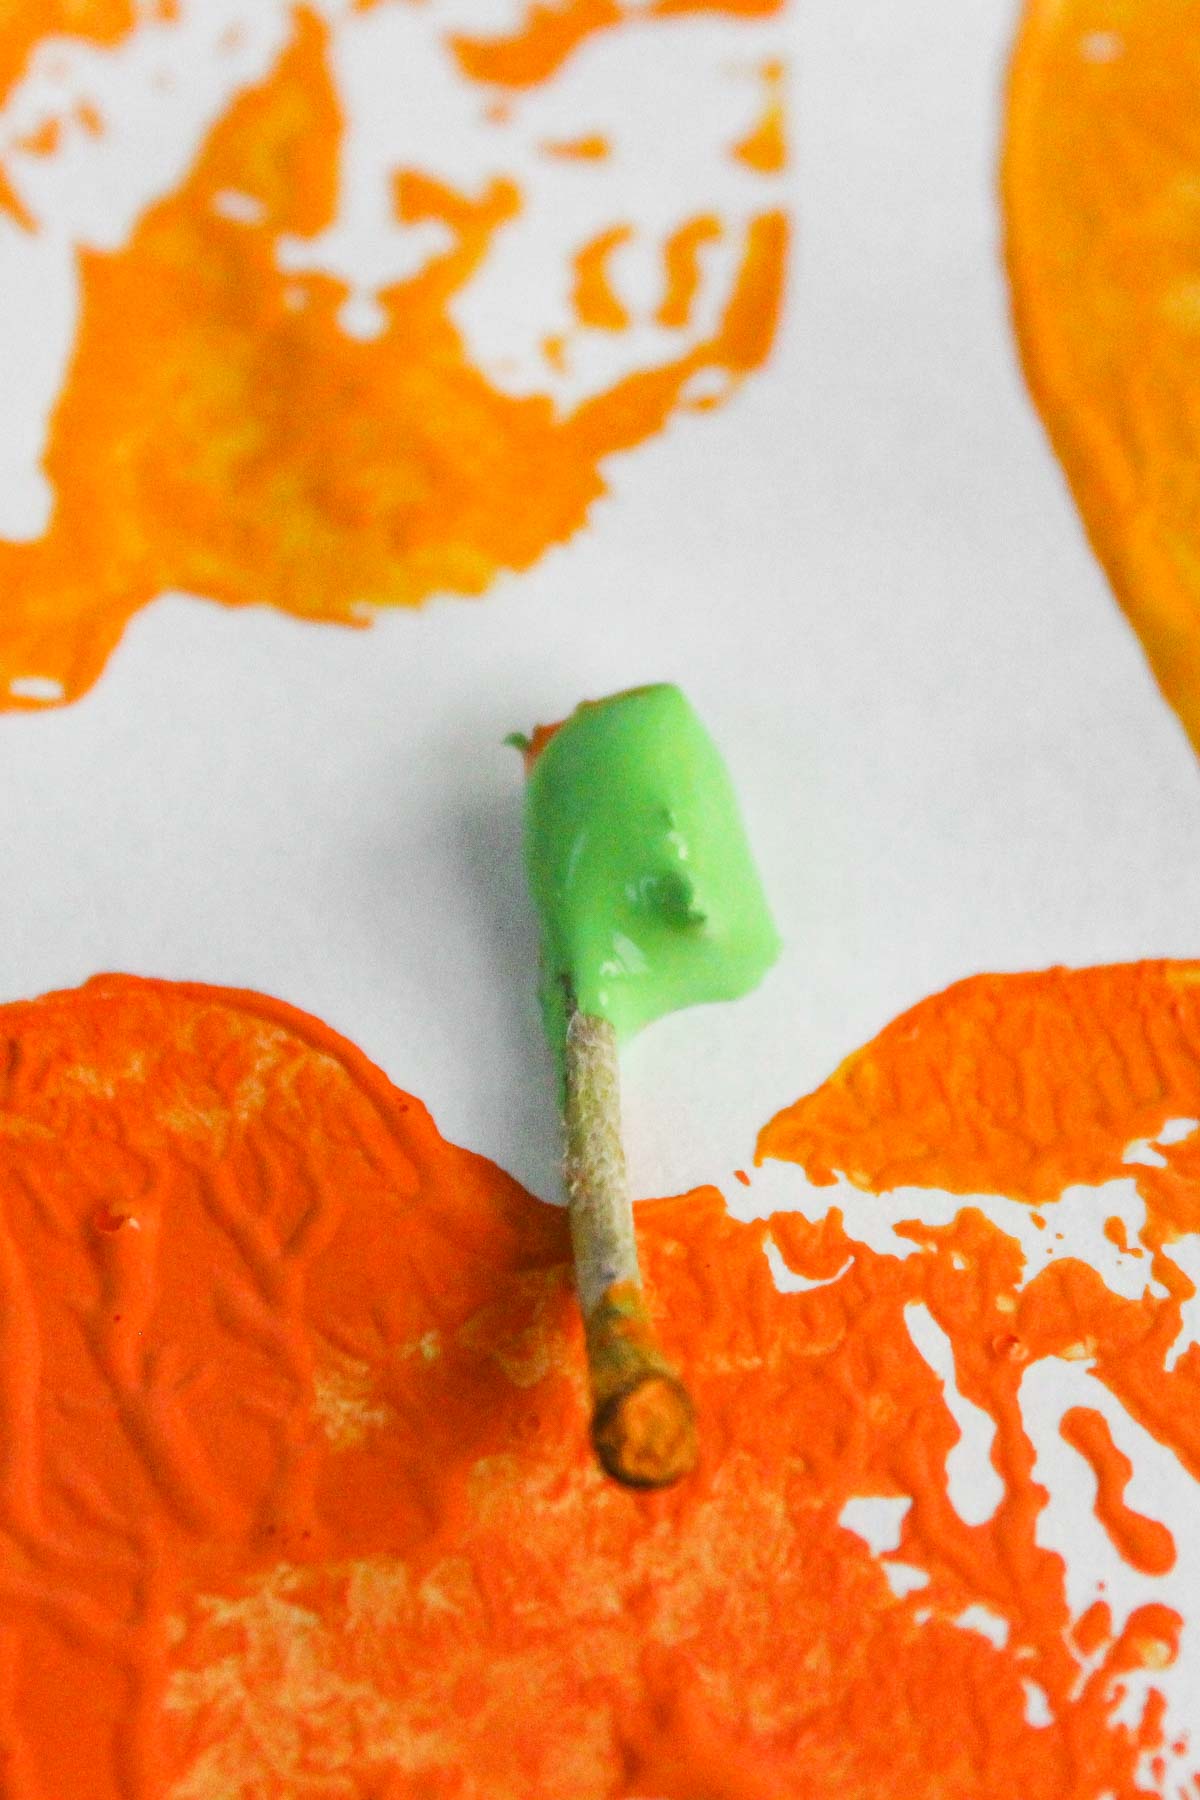
There’s really not a lot to this, which is why it makes such a great pumpkin craft for preschoolers (or even younger). Give everyone an apple that’s been cut in half. I like to take the seeds out but otherwise, you can literally just cut it in half, core and all. Give them a paper plate with various colors of paint on them (pumpkin colored + green) spread out far enough that when they press the apple into the paint, it’s not going to get into another color of paint. Give everyone an apple stem and a piece of white card stock as well! Then you’re ready to paint! Let kids press the apple into the color of their choice and press or stamp the paint on the piece of paper. Do it multiple times all over the piece of paper, switching colors as they’d like. Once they’re done with their apple pumpkins, have them dip the apple step into the green paint and add stems to their pumpkins. Finally, if desired have them use the spring dipped in green paint to create vines connecting their pumpkins. Or just use the same apple stem dipped in green paint to do the same! And that’s it! Let kids get creative with colors and decorating their pictures. Once the pictures are painted, let them dry completely for a super simple pumpkin patch craft!
Expert Tips
Have extra white card stock available (more than just one per child) so they can make more pumpkin patches if they want to! And I can almost guarantee they’ll want to! Put down a plastic tablecloth on the table before you start painting. Then when paint spills, pumpkins get stamped on the table, and a mess is made in some other way, you can just take off the tablecloth and toss it for clean up! Give each kid their own painting “palette” with paint rather than having them share colors if you’re working with a number of kids. Or if it’s just a few kids, you could just put one color per paper plate (i.e,. red on one, orange on one) and have the kids share those paper plates.
More Easy Fall Activities
If you like this pumpkin patch craft, you’ll love these other kid-friendly fall activities to do as a family!
Fall games – 20 of the best fall games for kids (or adults!). Super fun and easy to play! Fall scavenger hunt – see how many of these fun fall activities you can do and see who can do them the quickest! Don’t forget to take lots of photos! Apple party ideas – tons of apple themed activities, recipes, and more! The perfect theme for a fall party!Halloween bingo – a free printable Halloween game that’s great for classroom parties, Halloween parties, and more! Halloween truth or dare questions – these fun truth or scare questions make a great activity for the entire family!